



Last updated: November 4, 2026. Permit fees, rules, and phone numbers change. Confirm key details with your agency before you go.
Trekking in Nepal is one of the great first-time adventures. The trails are well established, the teahouses are welcoming, and the scenery is unforgettable. But a first trek also raises many questions. What should you pack? Which permits do you need? Who do you call in an emergency? This beginner trekking guide to Nepal answers all of that in plain language.
Use it as a practical checklist. You will find gear and accessories, permits and costs, health and altitude basics, emergency contacts, and day-to-day tips.


Step 1: Choose the Right Trek for Your First Time
Start with a route that matches your fitness and time. A shorter trek is a great way to learn how you handle altitude and long days.
- Ghorepani Poon Hill (about 4 to 5 days): Superb sunrise views and a gentle introduction.
- Mardi Himal (about 5 to 7 days): Quieter, with ridge-top scenery.
- Langtang Valley (about 7 to 10 days): Close to Kathmandu. Check the current access status first.
- Annapurna Base Camp (about 7 to 10 days): A classic with big mountain views.
- Everest Base Camp (about 12 to 14 days): The famous one. It is longer and higher, so it demands more preparation.
If this is your first trek, consider one of the shorter options. You can always return for a bigger one.
When to Go
Autumn (October to November) and spring (March to May) are the best seasons. November brings clear skies and cold nights. This year, a late-October storm brought snow to parts of the high Himalaya, so always ask your agency about current trail conditions.
Step 2: Understand Permits and Rules
Nepal’s permit system has several layers. The details below reflect 2026 sources, but fees and requirements differ between sources. Confirm with your agency.
The Guide Rule
Foreign trekkers must now hire a licensed guide or porter-guide in national parks, conservation areas, and restricted areas. Solo, unguided trekking is no longer allowed on most routes. For restricted zones, a guide ratio of one licensed guide per maximum seven trekkers was set on March 22, 2026, according to one permit guide. Some sources note the Everest (Khumbu) region has a local system with its own rules, so ask your agency exactly what applies to your route.
Common Permits and Costs
| Region | Typical permits | Approximate cost (foreigners) |
|---|---|---|
| Annapurna (ABC, Poon Hill, Mardi, Circuit) | ACAP permit, sometimes TIMS | ACAP NPR 3,000, TIMS NPR 2,000 where required |
| Everest (EBC, Gokyo) | Sagarmatha National Park permit and Khumbu Pasang Lhamu municipality fee | NPR 3,000 (about NPR 3,390 with VAT) plus NPR 2,000 to 3,000 |
| Langtang | Langtang National Park permit and TIMS | About NPR 5,000 to 6,400 |
| Restricted areas (Upper Mustang, Manaslu, Dolpo) | Restricted-area permit through a registered agency | Varies by area and days |
Sources disagree on whether TIMS is still checked on some Annapurna routes. The Khumbu municipality fee is bought in Lukla or Monjo, not in Kathmandu. Budget roughly USD 30 to 55 for permits on a standard trek.
Realistic Costs
- Guide: about USD 25 to 35 per day, depending on the route and season.
- Porter: about USD 18 to 25 per day. Porters typically carry no more than about 20 kilograms.
- Teahouse room: about USD 4 to 12 at mid-elevations, often free if you eat there.
- Total daily budget: budget trekkers often report USD 20 to 30 per day for food and lodging, but expect more on popular routes and at altitude.
Also plan for tips. Read our breakdown of tipping guides and porters in Nepal.
Step 3: The Gear Checklist
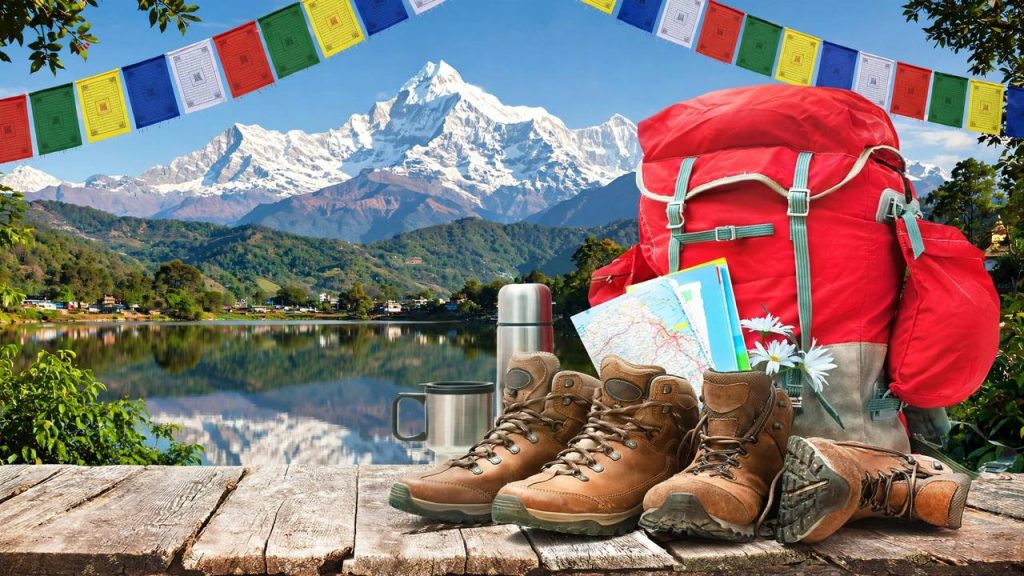
Good gear keeps you warm, dry, and comfortable. You do not need to buy everything. Many items can be rented in Thamel in Kathmandu, including sleeping bags and down jackets.
Clothing (The Layering System)
- Base layers: Two moisture-wicking tops and one or two bottoms. Merino or synthetic. Avoid cotton.
- Mid layer: A fleece or light insulated jacket.
- Insulation: A warm down or synthetic jacket for evenings and high elevations.
- Outer shell: A waterproof, breathable jacket and rain pants.
- Trekking pants: Two pairs of quick-dry pants. Shorts are optional at lower elevations.
- Underwear and socks: Several pairs of moisture-wicking socks, plus a spare pair for sleeping.
- Evening clothes: Warm, dry clothes for the teahouse.
Footwear
- Trekking boots: Broken in before the trip. Ankle support and a sturdy sole matter.
- Camp shoes: Light sandals or sneakers for evenings.
- Gaiters: Optional, but useful in snow or mud.
Packing and Sleeping
- Daypack (25 to 35 liters): For things you need during the day. Your porter carries the larger bag.
- Duffel or backpack: For your porter. Keep it under the airline and porter weight limits.
- Sleeping bag: Rated to around -10°C or colder for higher treks. Teahouse rooms are unheated.
- Dry bags or plastic liners: Keep your gear dry.
Accessories That Make a Big Difference
- Trekking poles: They protect your knees on long descents.
- Headlamp: Plus spare batteries. Power cuts and early starts are common.
- Sunglasses: High-protection UV lenses. Snow glare is intense.
- Sun hat and warm hat: Both are essential.
- Gloves: A thin pair and a warm waterproof pair.
- Buff or neck gaiter: Helps with dust, wind, and cold.
- Sunscreen and lip balm: High SPF. The sun at altitude is strong.
- Reusable water bottles: Two one-liter bottles, or a bottle and a hydration bladder.
- Water purification: Tablets, drops, or a filter. This reduces plastic waste.
- Power bank: Charging is often paid at teahouses.
- Universal adapter: Nepal uses 230 volts. Common sockets are types C, D, and M.
- Earplugs and eye mask: Teahouses can be noisy and bright.
- Microfiber towel: Quick-drying and light.
- Ziplock bags: For documents, phones, and snacks.
- Camera or phone, with a spare memory card.
Health and Hygiene Kit
- Personal medicines, plus copies of prescriptions
- Basic first aid: plasters, blister care, tape, pain relief, rehydration salts
- Hand sanitizer and wet wipes
- Toilet paper and a small trowel or bags, if needed
- Toiletries, with biodegradable soap if possible
Documents and Money
- Passport, visa, and permit copies
- Travel insurance details
- Cash in small Nepali rupee notes. ATMs and card payments are rare on the trail.
- A small notebook with emergency contacts
Step 4: Health, Fitness, and Altitude
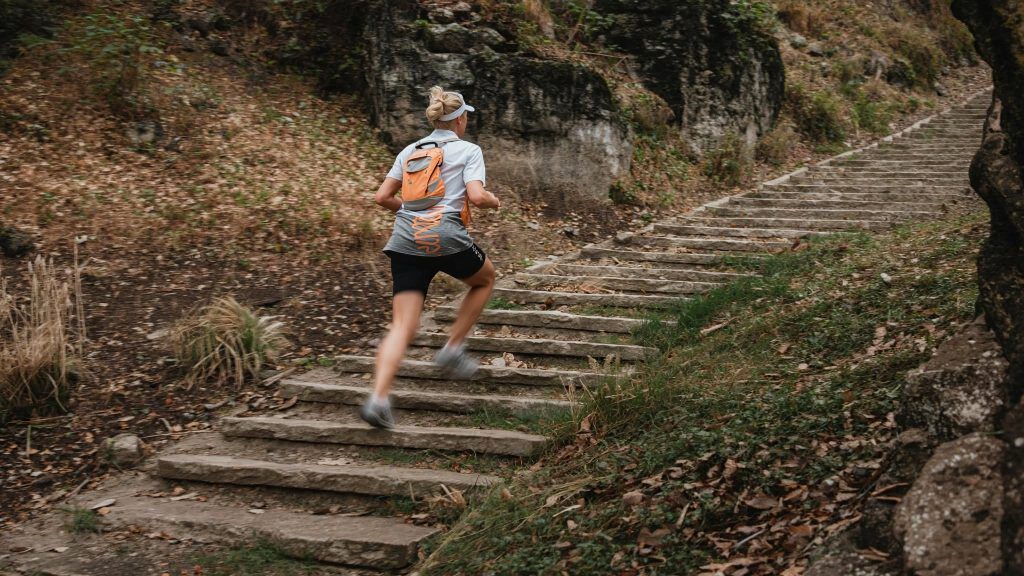
Get Fit Before You Go
Start training six to eight weeks ahead. Walk uphill, climb stairs, and hike with a loaded pack. Cardiovascular fitness and strong legs make the trek far more enjoyable.
Respect Altitude
Altitude affects everyone, regardless of fitness. Follow these basics:
- Go slowly. Ascend gradually and take rest days as your itinerary allows.
- Drink plenty of water.
- Avoid alcohol at higher elevations.
- Know the symptoms. Headache, nausea, dizziness, and unusual tiredness can signal altitude sickness.
- Never ignore symptoms. Tell your guide immediately.
- Descend if you worsen. For suspected severe altitude illness, descending is the priority.
- Talk to a doctor before your trip about altitude medication.
The Himalayan Rescue Association runs aid posts staffed by volunteer doctors at Pheriche on the Everest route and Manang on the Annapurna Circuit. It also gives standing advice on altitude illness.
Food and Water
Teahouse menus are simple. Dal bhat, the national dish, is filling and often comes with refills. Eat regularly even if your appetite drops. Stick to purified water.
Step 5: Insurance
This is not optional. A helicopter evacuation from the mountains can cost thousands of US dollars, and operators often want a guarantee of payment first.
Check your policy for these points:
- Maximum altitude: It must cover trekking to the highest altitude on your itinerary. Many policies quietly cap at 3,000 or 4,000 meters.
- Helicopter evacuation: It should be stated explicitly in the wording.
- Repatriation: Medical return to your home country should be covered.
- 24-hour emergency line: Make sure it works from Nepal, and save the number.
The UK government has warned travelers about helicopter rescue scams. Work through your guide, agency, and insurer rather than unknown operators.
Step 6: Emergency Contacts and Essential Numbers
Save these numbers before you leave Kathmandu. Write the most important ones on paper too.
National Emergency Numbers (Inside Nepal)
| Service | Number |
|---|---|
| Police | 100 |
| Fire brigade | 101 |
| Ambulance | 102 |
| Traffic police | 103 |
| Tourist Police (toll-free) | 1144 |
| National Emergency Operation Centre | 1149 |
| Nepal Police helpline | 1155 |
The Tourist Police have English-speaking officers and posts along major routes, including Lukla, Namche, Ghorepani, Ghandruk, Dhampus, Chame, Dharapani, and Jomsom. Their central office is at Bhrikutimandap in Kathmandu, inside the Nepal Tourism Board premises.
Other Helpful Contacts
- Himalayan Rescue Association (HRA): Kathmandu office in Dhobichaur, Lazimpat. Aid posts at Manang, Pheriche, and Everest Base Camp. Published phone numbers differ between sources, so confirm the current number before you travel.
- Your trekking agency: Save the 24-hour contact and your guide’s mobile number.
- Your travel insurer: Save the emergency assistance line.
- Your embassy: Register if your country offers it, and save its emergency line. For example, the US Embassy lists 24/7 numbers on its website, and the UK Embassy in Kathmandu is listed at +977 1 4237100 by one trekking-safety guide.
What to Do in an Emergency
- Stay calm and stay with your group.
- Tell your guide immediately. Guides are trained to coordinate help.
- Contact your agency and insurer. They can arrange evacuation.
- Use 100 or 1144 if you need police or tourist police.
- Do not accept rescue offers from unknown operators.
- Keep records. Note times, names, and any payments.
If someone goes missing, call the police at 100 and Tourist Police at 1144 at once.
Step 7: Staying Connected
A local SIM helps in towns and many villages. Coverage fades at altitude, and in some places only certain networks work. Read our guide to buying a SIM or eSIM at Kathmandu’s airport. Download offline maps and keep your phone in airplane mode to save battery.
Step 8: Daily Life on the Trail
A Typical Day
- Early start: Breakfast around 6:30 to 7:30 AM.
- Morning walk: Often the best weather. Hike a few hours.
- Lunch stop: At a teahouse en route.
- Afternoon walk: Shorter, and you arrive by mid-afternoon.
- Evening: Dinner, rest, and an early night.
Teahouse Etiquette
- Order meals where you sleep. This is how teahouses make a living.
- Ask before using sockets and charging, which may cost extra.
- Keep shared spaces tidy.
- Say “Namaste” and smile. Politeness goes far.
Respect for Local Culture
- Pass prayer walls, stupas, and mani stones on the left side, keeping them on your right, as locals do.
- Dress modestly in villages and monasteries.
- Ask before taking photographs of people.
- Leave no trace. Carry out your trash.
Step 9: Common Beginner Mistakes to Avoid
- Packing too much. Aim for a light bag.
- Wearing new boots that are not broken in.
- Going too fast on early days.
- Skipping insurance or choosing a policy with a low altitude cap.
- Ignoring altitude symptoms.
- Trekking without checking weather and trail conditions.
- Not carrying enough small cash.
A Note on Timing This Month
Tihar, the festival of lights, runs from November 6 to 11, 2026. Kathmandu is busy, and some businesses close for a few days. Book flights, guides, and teahouses early. Check weather and trail conditions, since early snow can affect high routes.
Final Thoughts
Your first trek in Nepal does not need to be complicated. Choose a route that fits you, hire a licensed guide, pack in layers, and take altitude seriously. Save the key phone numbers, get proper insurance, and keep your plans flexible. With a little preparation, your first Himalayan walk can be a joyful, safe, and unforgettable experience.
Frequently Asked Questions
Do I need a guide to trek in Nepal as a beginner?
Yes. Foreign trekkers need a licensed guide or porter-guide in national parks, conservation areas, and restricted areas. Ask your agency what applies to your route.
What permits do I need for my first trek?
It depends on the region. Annapurna needs an ACAP permit and sometimes TIMS. Everest needs a Sagarmatha National Park permit and a Khumbu municipality fee. Your agency can arrange them.
How much does a trek in Nepal cost?
Permits run roughly USD 30 to 55. A guide costs about USD 25 to 35 per day, and a porter about USD 18 to 25 per day. Add meals, lodging, and tips.
What should I pack for a trek in Nepal?
Pack layers, waterproof outerwear, broken-in boots, a warm sleeping bag, trekking poles, a headlamp, sunglasses, sun protection, water purification, a power bank, and a first aid kit.
Can I rent trekking gear in Kathmandu?
Yes. Many shops in Thamel rent sleeping bags, down jackets, and poles. Check quality before you leave the shop.
What is the emergency number in Nepal?
Dial 100 for police and 1144 for the toll-free Tourist Police. Ambulance is 102 and fire is 101.
What insurance do I need for trekking in Nepal?
Choose a policy that covers trekking to your maximum altitude and explicitly includes helicopter evacuation and repatriation.
How do I avoid altitude sickness?
Go slowly, drink water, avoid alcohol, and tell your guide about any symptoms. Descend if symptoms worsen. Talk to a doctor before your trip.
Is it safe to trek in Nepal in November?
November is a popular month with clear skies and cold nights. Check weather updates, since early snow can affect high routes.
Will I have phone signal on the trek?
Coverage is available in towns and many villages but fades at altitude. Buy a local SIM and download offline maps.


